


apache2配置域名到某个端口步骤
编辑日期: 2024-11-28 文章阅读: 次
要将 Apache2 服务器上的域名 chat-ex.com 指向运行在 5000 端口的应用,可以通过以下步骤完成配置:
步骤 1:启用必要的模块
首先,启用必要的 Apache 模块:
sudo a2enmod proxy
sudo a2enmod proxy_http
步骤 2:创建新的虚拟主机配置
创建或编辑 Apache 虚拟主机配置文件。假设你要创建一个新的配置文件 /etc/apache2/sites-available/chat-ex.com.conf:
sudo vim /etc/apache2/sites-available/chat-ex.com.conf
在文件中添加以下内容:
<VirtualHost *:80>
    ServerName chat-ex.com

    ProxyPreserveHost On
    ProxyPass / http://localhost:5000/
    ProxyPassReverse / http://localhost:5000/

    ErrorLog ${APACHE_LOG_DIR}/chat-ex.com_error.log
    CustomLog ${APACHE_LOG_DIR}/chat-ex.com_access.log combined
</VirtualHost>
步骤 3:启用新的虚拟主机配置
启用你刚刚创建的虚拟主机配置:
sudo a2ensite chat-ex.com.conf
步骤 4:重新启动 Apache 服务
重新启动 Apache 以应用新的配置:
sudo systemctl restart apache2
步骤 5:更新 DNS 配置
确保你的域名 chat-ex.com 的 DNS 记录指向你的服务器的 IP 地址。这通常是在你的域名注册商或 DNS 服务提供商的控制面板中进行配置。
测试
在浏览器中访问 http://chat-ex.com,检查是否正确代理到运行在 5000 端口的应用。
如果需要 HTTPS 支持,可以考虑使用 Let’s Encrypt 来获取免费的 SSL 证书。安装和配置 certbot 可以帮助你自动化这个过程:
sudo apt-get install certbot python3-certbot-apache
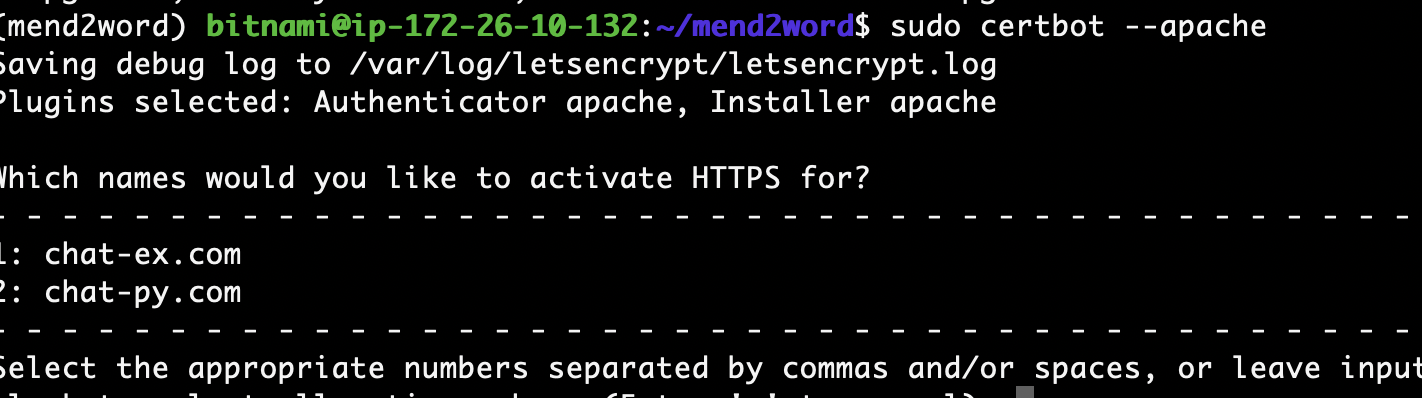
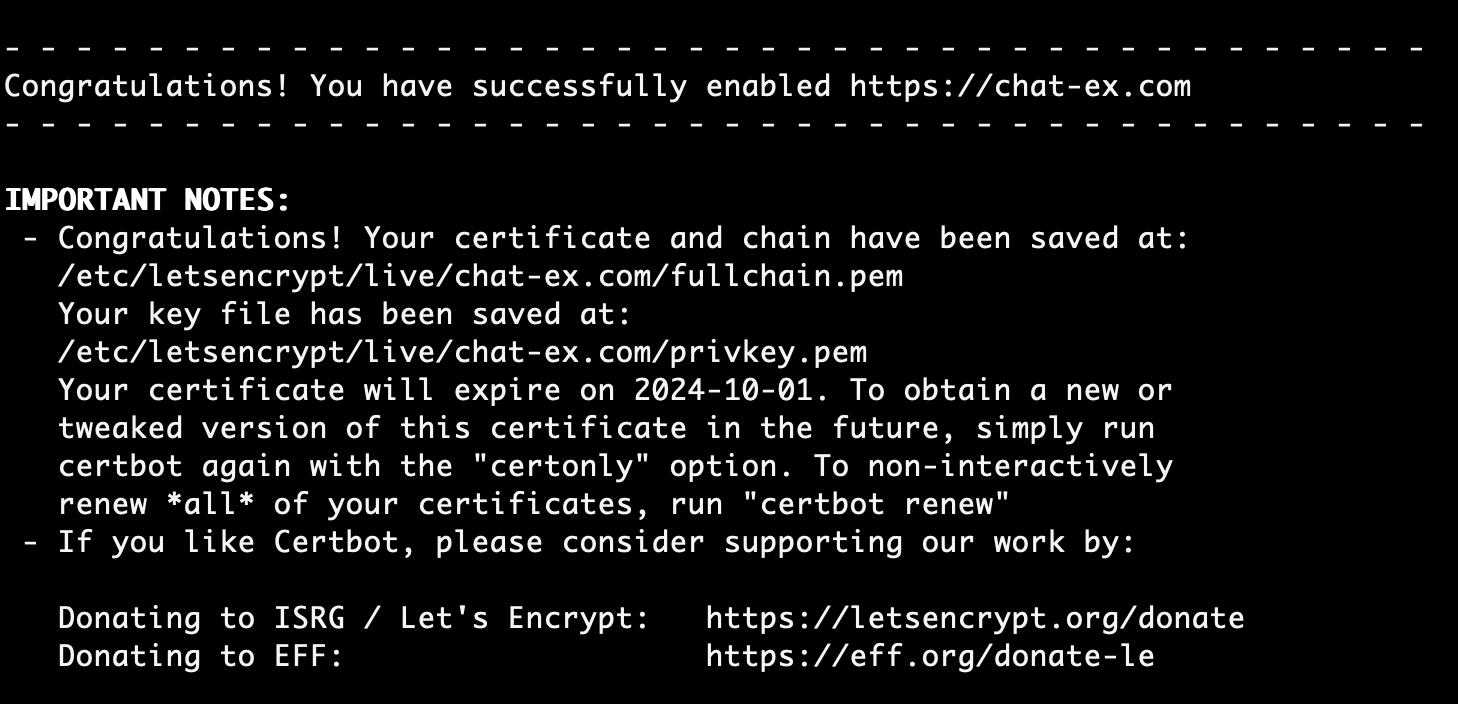
sudo certbot --apache
按照提示完成证书获取和配置过程。
如果已经安装好了 Let’s Encrypt 并获取了 SSL 证书,
接下来你需要配置 Apache 来使用 HTTPS
以下是步骤:
步骤 1:启用 SSL 模块
确保 Apache 已启用 SSL 模块:
sudo a2enmod ssl
步骤 2:创建或编辑 HTTPS 虚拟主机配置
编辑你的 Apache 虚拟主机配置文件 /etc/apache2/sites-available/chat-ex.com.conf,删除之前的信息,然后添加以下内容以支持 HTTPS:
<VirtualHost *:80>
    ServerName chat-ex.com

    ProxyPreserveHost On
    ProxyPass / http://localhost:5000/
    ProxyPassReverse / http://localhost:5000/

    ErrorLog ${APACHE_LOG_DIR}/chat-ex.com_error.log
    CustomLog ${APACHE_LOG_DIR}/chat-ex.com_access.log combined

    Redirect permanent / https://chat-ex.com/
</VirtualHost>

<VirtualHost *:443>
    ServerName chat-ex.com

    ProxyPreserveHost On
    ProxyPass / http://localhost:5000/
    ProxyPassReverse / http://localhost:5000/

    SSLEngine on
    SSLCertificateFile /etc/letsencrypt/live/chat-ex.com/fullchain.pem
    SSLCertificateKeyFile /etc/letsencrypt/live/chat-ex.com/privkey.pem
    Include /etc/letsencrypt/options-ssl-apache.conf

    ErrorLog ${APACHE_LOG_DIR}/chat-ex.com_error.log
    CustomLog ${APACHE_LOG_DIR}/chat-ex.com_access.log combined
</VirtualHost>
确保你用实际的证书路径替换 /etc/letsencrypt/live/chat-ex.com/fullchain.pem 和 /etc/letsencrypt/live/chat-ex.com/privkey.pem。
步骤 3:启用站点配置
如果你的 HTTPS 站点配置文件不是在 /etc/apache2/sites-enabled/ 目录下链接的,则需要启用站点配置:
sudo a2ensite chat-ex.com.conf
步骤 4:重新启动 Apache 服务
重新启动 Apache 以应用新的配置:
sudo systemctl restart apache2
测试 HTTPS 配置
在浏览器中访问 https://chat-ex.com,检查是否正确代理到运行在 5000 端口的应用,并且使用了 HTTPS 连接。
自动更新证书
Let’s Encrypt 证书有效期为 90 天,因此需要自动更新证书。可以通过 certbot 的 cron 作业来实现自动更新。certbot 通常会在安装过程中自动添加 cron 作业,确保它已经配置好:
sudo systemctl status certbot.timer
如果未启用,可以手动配置 cron 作业或 systemd timer 来自动更新证书。
以上全文,欢迎继续阅读学习
